1. Utangulizi na Zaidiview
The TizzyToy BL01 Drone is a versatile and user-friendly quadcopter designed for both beginners and experienced pilots. It features a 4K adjustable FPV camera, a powerful brushless motor for stable flight, and advanced obstacle avoidance capabilities. This manual provides detailed instructions to ensure safe and optimal operation of your drone.

Figure 1: TizzyToy BL01 Drone and included accessories.
2. Ni nini kwenye Sanduku
Your TizzyToy BL01 Drone package includes the following components:
- TizzyToy BL01 Drone (Silver-Brushless)
- Udhibiti wa Kijijini
- Two 1600mAh Batteries
- Kebo ya Kuchaji ya USB
- Vipuri vya Propela
- Walinzi wa Propeller
- bisibisi
- Kesi ya kubeba
- Mwongozo wa Mtumiaji (hati hii)

Figure 2: Contents of the TizzyToy BL01 Drone package.
3. Kuweka
3.1 Kuchaji Betri
Ensure the drone batteries are fully charged before first use to maximize flight time and battery longevity. The charging time is approximately 120 minutes per battery.
- Pull out the battery from the end of the drone.
- Use a 5V1A USB charger (not included).
- Connect one end of the USB charging cable to the USB charger.
- Connect the other end of the USB charging cable to the battery charging port.
- The battery indicator light will stay on while charging and turn off when charging is complete.
Video 1: Detailed instructions on how to charge the drone battery.
3.2 Obstacle Avoidance Head Installation
The drone comes with an optional obstacle avoidance device that can be installed for enhanced safety, especially during indoor flights.
- Insert the cable of the obstacle avoidance device into the socket inside the drone, ensuring the hole position corresponds to the needle inside the socket.
- Insert the obstacle avoidance device into the installation port on the top of the drone.
- Note that the top obstacle avoidance camera is located at the end of the drone.
- To activate, short press the obstacle avoidance button on the remote controller. The drone lights will flash quickly, and the remote will beep.
- To exit, short press the button again. The drone lights will stay on, indicating the mode is exited.
Video 2: Guide for installing the obstacle avoidance head on the drone.
3.3 Usanidi wa Kijijini
The remote control requires 3 AAA batteries (not included). Ensure they are inserted correctly according to polarity markings.
4. Maagizo ya Uendeshaji
4.1 Vidhibiti vya Msingi vya Ndege
The TizzyToy BL01 drone offers several intuitive flight functions:
- Kupaa/Kutua kwa Kitufe Kimoja: Bonyeza kitufe maalum kwa ajili ya kupaa au kutua kiotomatiki.
- Kushikilia Altitude: The drone maintains a stable height, making it easier to control.
- 360° Geuza: Achieved by pressing the right joystick down and selecting the desired direction.

Figure 3: User-friendly flight features.
4.2 Marekebisho ya Kasi
The drone supports three speed gears for different flying environments:
- Kifaa cha Kwanza: Inafaa kwa matumizi ya ndani.
- Kifaa cha pili: Ideal for courtyards and streets.
- Gia ya Tatu: Best for open field use.
To adjust the speed, short press the fast and slow gear button on the remote control. The remote will emit a 'beep' sound, indicating a successful switch.
Video 3: Instructions on how to set the flight speed of the drone.

Figure 4: Visual representation of the three speed modes.
4.3 Njia isiyo na kichwa
Headless mode simplifies flight by eliminating the need to adjust the drone's orientation before flying. The drone's 'front' becomes the direction the remote control is facing.
- Press the headless mode button on the remote control. The remote will make a 'beep' sound.
- The LED lights on the front of the drone will start flashing slowly, indicating headless mode is active.
- To exit headless mode, press the headless mode button again. The remote control will make a 'beep' sound, and the indicator lights will stay on.
Video 4: Demonstration of how to use headless mode.
4.4 4K FPV & APP Control
The drone is equipped with a 4K 120° manually adjustable lens and a 110° wide-angle lens, providing a broad and breathtaking field of view. Connect your phone or iPad to the drone via the APP for real-time panoramic views and easy sharing.
- Capture stunning 4K pictures and videos directly through the APP.
- Utilize gesture control for taking photos (V-gesture) or recording videos (palm gesture).

Figure 5: Smart features for photo and video capture.

Figure 6: Benefits of the 4K wide-angle lens.
5. Matengenezo
5.1 Battery Safety and Storage
Proper battery care is crucial for safety and extending the lifespan of your drone's batteries.
- Use a UL standard charging plug and a 5V1A or 5V2A charging adapter.
- When fully charged, the indicator on the battery goes out. The red light is on when charging.
- If the battery cannot be charged, try replacing the adapter and charging cable.
- Occasionally fully charge the battery when not in use to prevent damage.
- When not in use, remove the battery from the drone and store it in a cool, dry place.
- Do not use swollen or deformed batteries.
- Do not use damaged or leaky batteries.
- Do not operate the drone in high-intensity magnetic fields to prevent damage to its electronics.
- Do not use or attempt to charge wet batteries.
- Chaji betri chini ya usimamizi wa watu wazima.
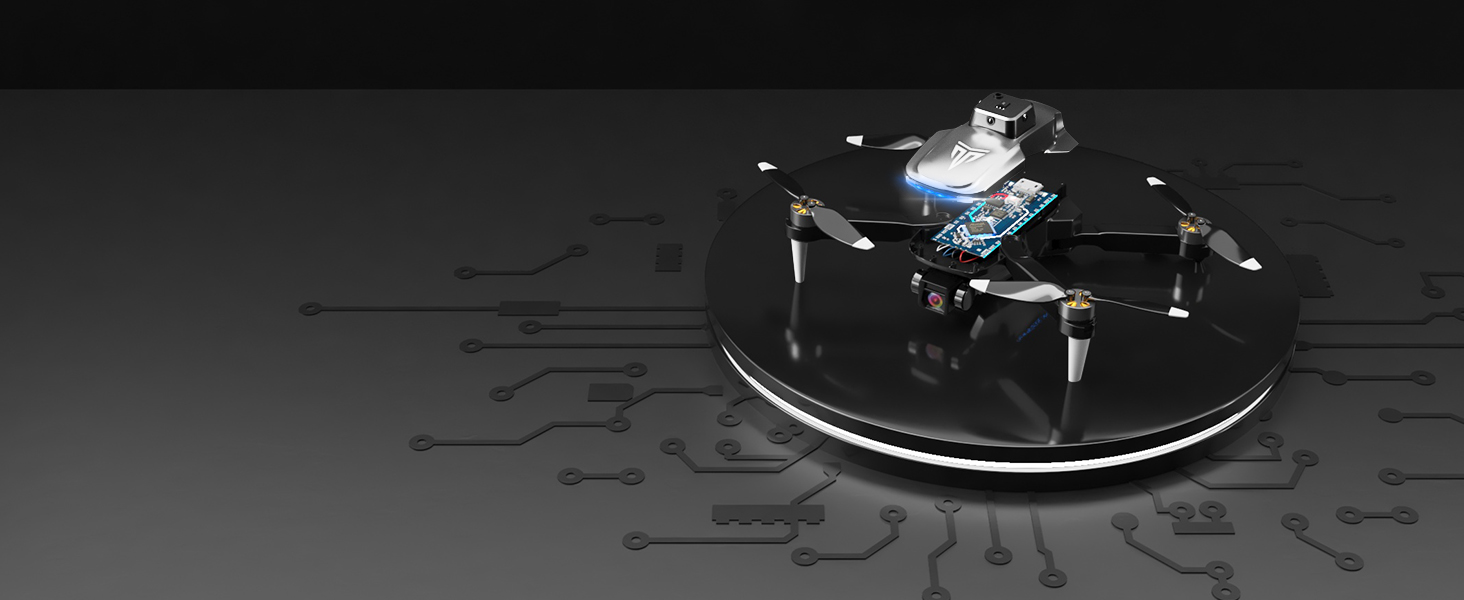
Figure 7: Important battery safety information.
5.2 Ubadilishaji wa Propela
The drone comes with spare propellers. If a propeller is damaged or deformed, use the included screwdriver to replace it. Ensure the new propeller is installed correctly according to the sequence in the manual.
6. Utatuzi wa shida
Rejelea jedwali hapa chini kwa maswala ya kawaida na suluhisho zao:
| Suala | Suluhisho |
|---|---|
| Remote-controlled drone is not responding |
|
| Betri haitachaji |
|
| When the drone takes off, it flies in one direction, or cannot be controlled normally |
|
| The phone cannot connect to the drone. |
|
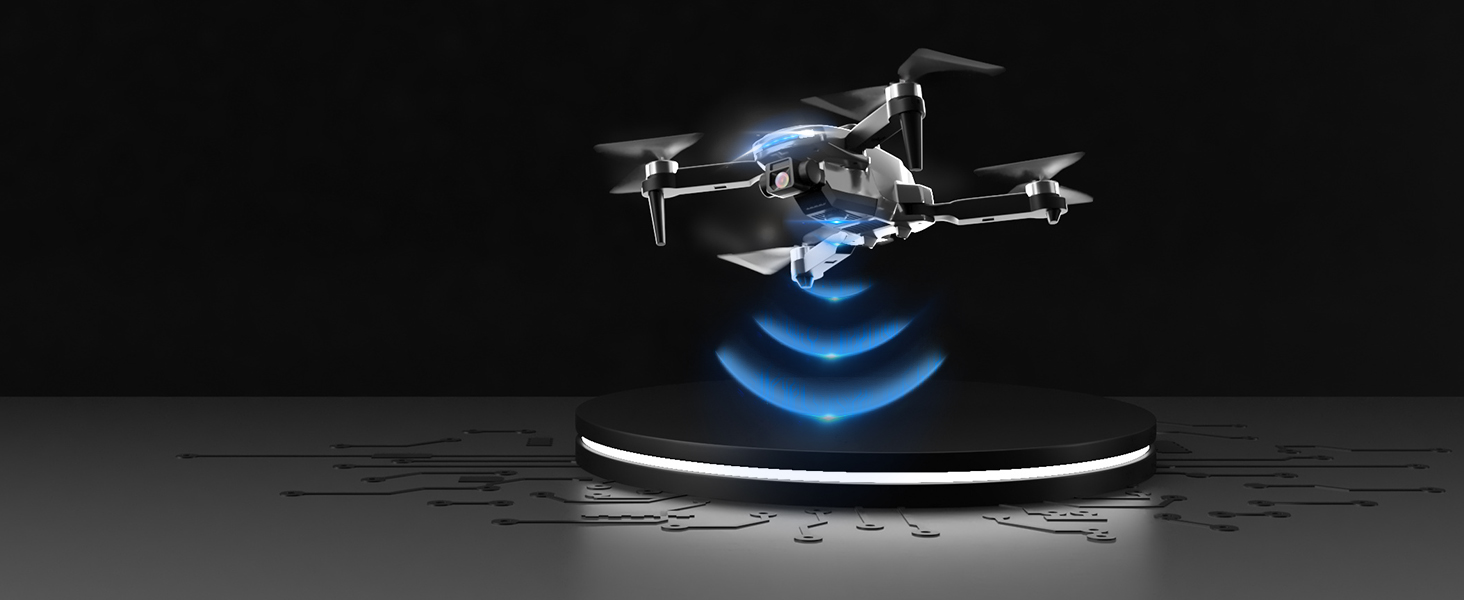
Figure 8: Q&A Part-1 Troubleshooting Guide.
7. Vipimo
| Kipengele | Maelezo |
|---|---|
| Chapa | TizzyToy |
| Jina la Mfano | BL01 |
| Rangi | Silver-Brushless |
| Azimio la Kukamata Video | 2160P (4K) |
| Teknolojia ya Uunganisho | Wi-Fi |
| Uwezo wa Betri | Milioni 1700amp Saa |
| Wakati wa Ndege | Hadi dakika 40 (na betri mbili) |
| Aina ya Magari | Brushless Motor |
| Vipengele Maalum | Foldable, 360° Obstacle Avoidance, Altitude Hold, Headless Mode, One Key Takeoff/Landing, 3 Speed Gears, Gesture Control |
| Uzito wa Kipengee | Pauni 1 |
| Vipimo vya Bidhaa | 1"L x 1"W x 1"H |
| UPC | 755752123643 |
8. Msaada kwa Wateja
For detailed video tutorials and comprehensive manuals, please refer to the resources provided with your purchase. If you encounter any issues while operating the drone or have further questions, feel free to contact TizzyToy customer service. We are committed to providing prompt assistance.


