1. Utangulizi
The Arturia AudioFuse V2 is a compact and versatile audio interface designed for high-quality recording, production, podcasting, and guitar applications. It combines premium components with an intuitive workflow to provide a comprehensive solution for musicians and producers.
This manual provides essential information for setting up, operating, and maintaining your AudioFuse V2 interface, ensuring optimal performance and longevity.
2. Kuweka
2.1 Kufungua na Ukaguzi wa Awali
Carefully remove the AudioFuse V2 from its packaging. Verify that all components are present and undamaged. Retain the packaging for future transport or storage.
2.2 Kuunganisha kwenye Kompyuta yako
Connect the AudioFuse V2 to your computer (Mac or PC) using the provided USB cable. The device is compatible with laptops, smartphones, and tablets. For optimal performance, ensure your computer meets the minimum system requirements specified by Arturia.
The AudioFuse V2 can be powered via USB or the included universal power supply. Using the power supply is recommended for stable operation, especially when connecting multiple devices to the USB hub or using phantom power.
2.3 Ufungaji wa Dereva
Before using the AudioFuse V2, download and install the latest drivers and the AudioFuse Control Center (AFCC) software from the official Arturia website. The AFCC software is crucial for managing settings, routing, and monitoring functions.
3. Operating the AudioFuse V2
3.1 Vidhibiti vya Paneli ya Mbele

Figure 1: Front panel of the Arturia AudioFuse V2, showing input channels, gain controls, and headphone outputs.
The front panel provides direct access to essential controls:
- Vituo vya Kuingiza: Two combo XLR/TRS inputs for microphones and instruments.
- Vidhibiti vya Kupata: Individual gain knobs for each input channel.
- Vifaa vya Kipokea sauti: Two independent headphone outputs with dedicated volume controls.
- Kiwango Kikuu cha Matokeo: Large central knob for controlling the main monitor output volume.
3.2 Viunganisho vya Paneli ya Nyuma

Figure 2: Rear panel of the Arturia AudioFuse V2, displaying various input/output ports including MIDI, S/PDIF, ADAT, USB hub, and speaker outputs.
The rear panel offers extensive connectivity options:
- MIDI Ndani/nje: For connecting MIDI devices.
- Word Clock/S/PDIF In/Out: Digital audio synchronization and connectivity.
- ADAT In/Out: Expandable digital audio inputs and outputs.
- Kitovu cha USB: Three USB ports for connecting other USB devices.
- Speaker Outputs (A & B): Balanced TRS outputs for connecting two sets of studio monitors.
- Line/Phono Inputs: Additional analog inputs for various sources, including turntables.
- Uingizaji wa Nguvu wa DC: Kwa kuunganisha umeme wa nje.
3.3 AudioFuse Control Center (AFCC)
The AFCC software provides comprehensive control over the AudioFuse V2. It allows you to manage the mixer, select inputs, configure routing, adjust monitoring settings, and access advanced functions such as sampling rate, clock source, pad, and cue. The AudioFuse V2 remembers the latest AFCC settings for standalone use until they are changed again.

Figure 3: Screenshot of the AudioFuse Control Center software, showing various controls for the interface.
4. Sifa Muhimu
4.1 DiscretePRO Preampwaokoaji
The AudioFuse V2 features two proprietary DiscretePRO microphone preamplifiers. Haya kablaamps are designed to deliver exceptional audio quality with high gain and low noise, ensuring accurate capture of your sound sources.

Figure 4: Close-up of the DiscretePRO preamp circuitry, highlighting the advanced design for superior audio performance.
Key specifications of the DiscretePRO preamps include +72 dB input gain and a flatness of +/-0.02 dB (from 20Hz to 20kHz).
4.2 High-Quality AD/DA Converters
Equipped with top-notch Analog-to-Digital and Digital-to-Analog (AD/DA) converters, the AudioFuse V2 ensures pristine audio conversion, preserving the integrity of your recordings and playback.

Kielelezo 5: Ndani view of the AudioFuse V2, showcasing the high-quality AD/DA converter components.
4.3 Optimized Workflow
The AudioFuse V2 is designed for an optimized workflow, featuring detailed metering, talkback functionality for communication with talent, inserts for external effects processing, and A/B monitor switching. Direct access to essential features minimizes setup time and maximizes creative flow.

Figure 6: A musician using the AudioFuse V2 in a studio environment, demonstrating its integration into a creative workflow.
5. Muunganisho
The AudioFuse V2 offers comprehensive connectivity, allowing it to integrate with a wide range of studio equipment and devices. It connects with microphones, instruments, turntables, studio gear, Mac, PC, tablets, and even iOS and Android phones. The interface boasts a low round-trip latency of 3 milliseconds, ensuring real-time performance.
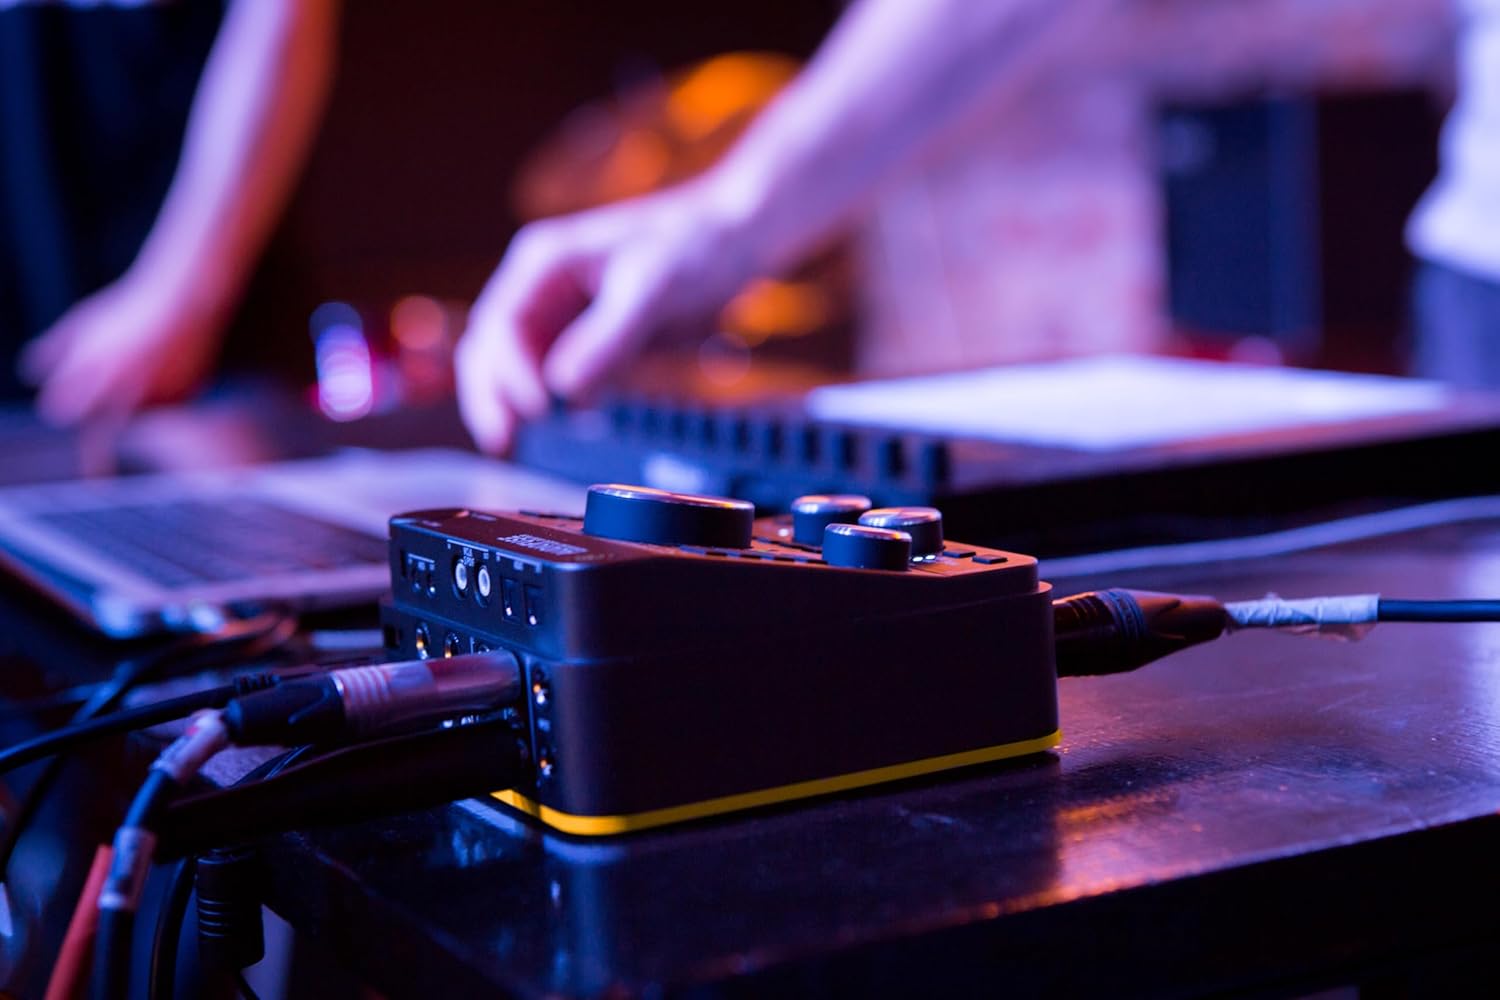
Figure 7: The AudioFuse V2 connected to multiple audio cables and a laptop, illustrating its versatile connectivity.
6. Included Software and Effects
Each AudioFuse interface comes with the AudioFuse Creative Suite, an evolving collection of creative plugins from Arturia's FX Collection. This suite includes plugins such as Pre 1973, Pre V76, Filter Mini, Chorus JUN-6, Comp FET-76, Rev PLATE-140, Analog Lab Intro, and more, providing a powerful toolkit for audio processing and sound design.

Figure 8: Visual representation of the AudioFuse Creative Suite, showcasing various included software plugins.

Figure 9: A laptop screen showing Arturia's software plugins in use, demonstrating the creative possibilities.
7. Matengenezo
To ensure the longevity and optimal performance of your AudioFuse V2, follow these maintenance guidelines:
- Kusafisha: Tumia kitambaa laini na kikavu kusafisha sehemu ya nje ya kifaa. Epuka visafishaji au viyeyusho vyenye kukwaruza.
- Hifadhi: When not in use, store the AudioFuse V2 in a clean, dry environment, ideally covered to prevent dust accumulation.
- Nguvu: Always use the recommended power supply. Disconnect power when the unit is not in use for extended periods.
- Uingizaji hewa: Hakikisha uingizaji hewa mzuri karibu na kitengo ili kuzuia overheating. Usizuie fursa za uingizaji hewa.
8. Utatuzi wa shida
If you encounter issues with your AudioFuse V2, consider the following common troubleshooting steps:
- Hakuna Sauti:
- Check all cable connections (USB, audio inputs/outputs, headphones).
- Verify that the AudioFuse V2 is selected as the audio input/output device in your computer's sound settings and your Digital Audio Workstation (DAW).
- Ensure gain levels are appropriately set on the interface and within the AFCC software.
- Check monitor and headphone volume levels.
- Masuala ya Muunganisho:
- Ensure the latest drivers are installed. Try reinstalling them.
- Jaribu mlango tofauti wa USB au kebo ya USB.
- Restart your computer and the AudioFuse V2.
- Distortion/Noise:
- Reduce input gain to prevent clipping.
- Angalia kama kuna vitanzi vya ardhini au kuingiliwa na vifaa vingine vya kielektroniki.
- Ensure proper cable shielding.
For persistent issues, refer to the comprehensive troubleshooting guide on the Arturia support website or contact Arturia customer support directly.
9. Vipimo
| Kipengele | Maelezo |
|---|---|
| Nambari ya Mfano | AudioFuse V2 |
| Uzito wa Kipengee | Pauni 4 |
| Vipimo vya Bidhaa | Inchi 6.3 x 5.91 x 5.12 |
| Vifaa Sambamba | Laptop, Smartphone, Kompyuta Kibao |
| Aina ya kiunganishi | USB |
| Kiunzi cha vifaa | USB |
| Programu Inayotumika | ADAT (and various DAWs via drivers) |
| Mfumo wa Uendeshaji | Windows (also Mac, iOS, Android compatible) |
| Teknolojia ya Uunganisho | USB |
| Idadi ya Vituo | 2 (expandable via ADAT) |
10. Udhamini na Msaada
Arturia products are covered by a limited warranty. For detailed information regarding warranty terms, registration, and service, please visit the official Arturia website. Technical support and additional resources, including FAQs and software updates, are also available through the Arturia support portal.
Arturia Official Webtovuti: www.arturia.com


