1. Utangulizi
This manual provides detailed instructions for the installation, operation, and maintenance of your Hikvision DS-7732NI-K4/16P 32-Channel PoE Network Video Recorder (NVR). This NVR supports up to 32 channels, with 16 Power over Ethernet (PoE) ports, 4K (8-Megapixel) resolution recording, USB backup, and ONVIF compatibility. Please read this manual thoroughly before use to ensure proper functionality and safety.
2. Taarifa za Usalama
- Ensure the NVR is placed on a stable, level surface to prevent accidental falls.
- Usifunue kifaa kwa maji au unyevu.
- Tumia tu adapta ya umeme inayotolewa na kifaa.
- Epuka kuzuia fursa za uingizaji hewa ili kuzuia overheating.
- Rejelea huduma zote kwa wafanyikazi waliohitimu.
3. Yaliyomo kwenye Kifurushi
Thibitisha kuwa vipengee vyote vipo kwenye kifurushi:
- Kitengo cha NVR cha Hikvision DS-7732NI-K4/16P
- Adapta ya Nguvu na Kamba ya Nguvu
- Panya ya USB
- Kebo ya HDMI
- Kebo ya Ethernet
- Kidhibiti cha Mbali
- Mwongozo wa Kuanza Haraka / Mwongozo wa Maelekezo
- HDD Mounting Screws (if applicable)
Video ya 1: Unboxing the 16-Channel POE NVR Network Video Recorder. This video demonstrates the contents of the product package, including the NVR unit, power supply, USB mouse, Ethernet cable, HDMI cable, remote controller, and instruction manual.
4. Kuweka
4.1 Miunganisho ya Kimwili
- Unganisha Monitor: Unganisha kifuatiliaji kwenye NVR kwa kutumia mlango wa HDMI au VGA.
- Unganisha Kipanya: Chomeka kipanya cha USB kwenye mojawapo ya milango ya USB kwenye NVR.
- Muunganisho wa Mtandao: Connect the NVR to your network router using an Ethernet cable.
- Uunganisho wa Kamera: Connect your PoE IP cameras to the available PoE ports on the NVR. For third-party cameras, ensure they are ONVIF compatible.
- Washa: Connect the power adapter to the NVR and then plug it into a power outlet. The NVR will power on automatically.
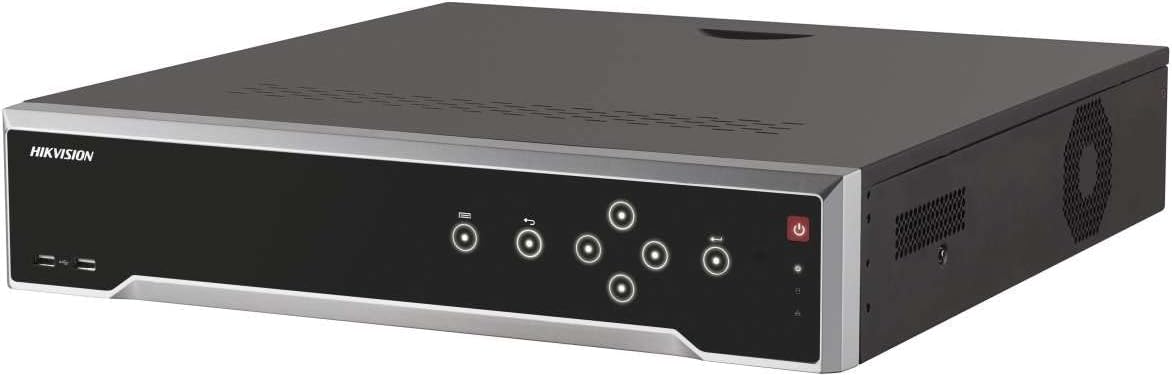
Picha ya 1: Mbele view of the Hikvision DS-7732NI-K4/16P NVR unit, showing the power button, status indicators, and USB ports.
4.2 Initial Configuration (Adding a Third-Party Camera)
- Ensure the camera is physically connected to the NVR via an Ethernet cable and the connection is secure.
- On the NVR's display screen, once an image is shown, click the "Add Camera" icon (small circle with a plus sign) on the bottom bar.
- In the Protocol section at the top left, select "ONVIF."
- Click "Search." Once the connected device appears on the screen, select it and click "Add all."
- After completing the setup, click "Go back." You should now see the newly added camera's live feed on the display.
Video ya 2: Guide on connecting a third-party single camera to the NVR's new user interface. This video illustrates the steps for physical connection and software configuration to integrate an ONVIF-compatible camera.
5. Maagizo ya Uendeshaji
5.1 Kurekodi
The NVR automatically records footage from connected cameras to the installed hard drive. It supports 4K (8-Megapixel) resolution for high-quality video capture. Ensure a compatible hard drive (up to 24TB) is installed for continuous recording.
5.2 Uchezaji
Fikia foo iliyorekodiwatage through the NVR's user interface. Use the mouse to navigate the timeline and select specific dates and times for playback. The system allows for fast-forward, rewind, and frame-by-frame review.
5.3 USB Backup
To back up important footage, insert a USB storage device into one of the NVR's USB ports. Navigate to the backup menu in the system settings, select the desired footage, and initiate the backup process. Ensure the USB device has sufficient storage capacity.
5.4 ONVIF Compatibility
The NVR is compatible with ONVIF (Open Network Video Interface Forum) standard cameras, allowing for integration with a wide range of third-party IP cameras. This ensures flexibility in expanding your surveillance system.
6. Matengenezo
- Regularly check for firmware updates to ensure optimal performance and security.
- Keep the NVR and cameras clean, free from dust and debris.
- Ensure adequate ventilation around the NVR to prevent overheating.
- Mara kwa mara review foo iliyorekodiwatage and system logs for any anomalies.
7. Utatuzi wa shida
7.1 No Video Signal from Camera
- Check all cable connections (Ethernet, power) to the camera and NVR.
- Verify the camera is powered on and its status indicator is active.
- Ensure the camera's IP address and network settings are correctly configured and compatible with the NVR.
- If it's a third-party camera, confirm ONVIF compatibility and proper integration steps (refer to Section 4.2).
7.2 NVR Not Recording
- Check if a hard drive is installed and properly recognized by the NVR.
- Verify recording schedules and settings in the NVR's configuration menu.
- Ensure the hard drive has sufficient free space.
8. Vipimo
| Kipengele | Maelezo |
|---|---|
| Nambari ya Mfano | DS-7732NI-K4/16P |
| Vituo | 32-Channel (16-Channel PoE) |
| Azimio la Max | 4K (8-Megapixels) |
| Uwezo wa Juu wa HDD | Up to 24TB (HDD Not Included) |
| Muunganisho | Ethaneti, HDMI, USB, VGA |
| Vifaa Sambamba | IP Cameras (ONVIF compatible) |
| Vipimo vya Bidhaa | Inchi 19.69 x 19.69 x 11.02 |
| Uzito wa Kipengee | Pauni 11.02 |
9. Udhamini na Msaada
This Hikvision product comes with a two-year warranty against factory defects. For technical support or warranty claims, please contact your authorized Hikvision dealer or visit the official Hikvision support webtovuti.


