
Teslong Single Lens
Teslong Wireless Endoscope User Manual
Model: Single Lens
1. Utangulizi
Thank you for choosing the Teslong Wireless Endoscope. This 1080P HD WiFi Inspection Camera is designed to provide clear visual inspection in hard-to-reach areas. Featuring a 7mm borescope camera with a detachable semi-rigid cable and IP67 waterproof rating, it is ideal for various applications including automotive repair, industrial mechanical inspection, drain checking, and pipeline inspection. This manual provides detailed instructions for setup, operation, maintenance, and troubleshooting to ensure optimal performance and longevity of your device.

Figure 1.1: Teslong Wireless Endoscope with smartphone holder.
2. Taarifa za Usalama
Please read all safety warnings and instructions before using this product to prevent electric shock, fire, or serious injury.
- Do not use the device in explosive atmospheres, such as in the presence of flammable liquids, gases, or dust.
- Keep the camera probe and cable away from heat sources and sharp objects.
- Ensure the device is fully charged before use to avoid interruptions during inspection.
- The camera probe is IP67 waterproof, but the main unit (handle) is not. Do not submerge the main unit in water.
- Usijaribu kutenganisha au kurekebisha kifaa. Matengenezo yanapaswa kufanywa tu na wafanyakazi waliohitimu.
- Weka mbali na watoto.
3. Yaliyomo kwenye Kifurushi
Thibitisha kuwa vipengee vyote vipo kwenye kifurushi chako:
- Teslong Wireless Endoscope Main Unit (WF200L5S7MM)
- Semi-rigid Inspection Cable with 7mm Camera Probe
- Kebo ya kuchaji ya Type-C ya USB
- Mwongozo wa Mtumiaji (hati hii)
- Accessories (Hook, Magnet, Mirror)
4. Bidhaa Imeishaview
The Teslong Wireless Endoscope features an ergonomic design for comfortable single-handed operation. It includes a detachable semi-rigid cable for easy storage and interchangeability.

Figure 4.1: Ergonomic design of the Teslong WF200 Wireless Endoscope.
Vipengele Muhimu:
- Sehemu kuu: Handheld device with power button, brightness adjustment dial, and phone holder.
- Uchunguzi wa Kamera: 7mm diameter, 2.0 Megapixels HD CMOS sensor with 8 adjustable LED lights.
- Semi-rigid Cable: Flexible yet firm cable for navigating tight spaces.
- Tochi Iliyojengewa ndani: Provides additional illumination on the main unit.
- Bandari ya USB-C: Kwa kuchaji betri ya ndani.

Figure 4.2: The built-in LED flashlight on the main unit provides additional illumination.
5. Mwongozo wa Kuweka
5.1 Kuchaji Kifaa
Before first use, fully charge the endoscope. The built-in 2000mAh rechargeable battery provides up to 4 hours of continuous working time.
- Connect the provided USB Type-C charging cable to the charging port on the main unit.
- Unganisha ncha nyingine ya kebo kwa adapta ya kawaida ya umeme ya USB (isiyojumuishwa) au mlango wa USB wa kompyuta.
- The charging indicator light will show the charging status. Once fully charged, the light will change (refer to device indicators for specific behavior).
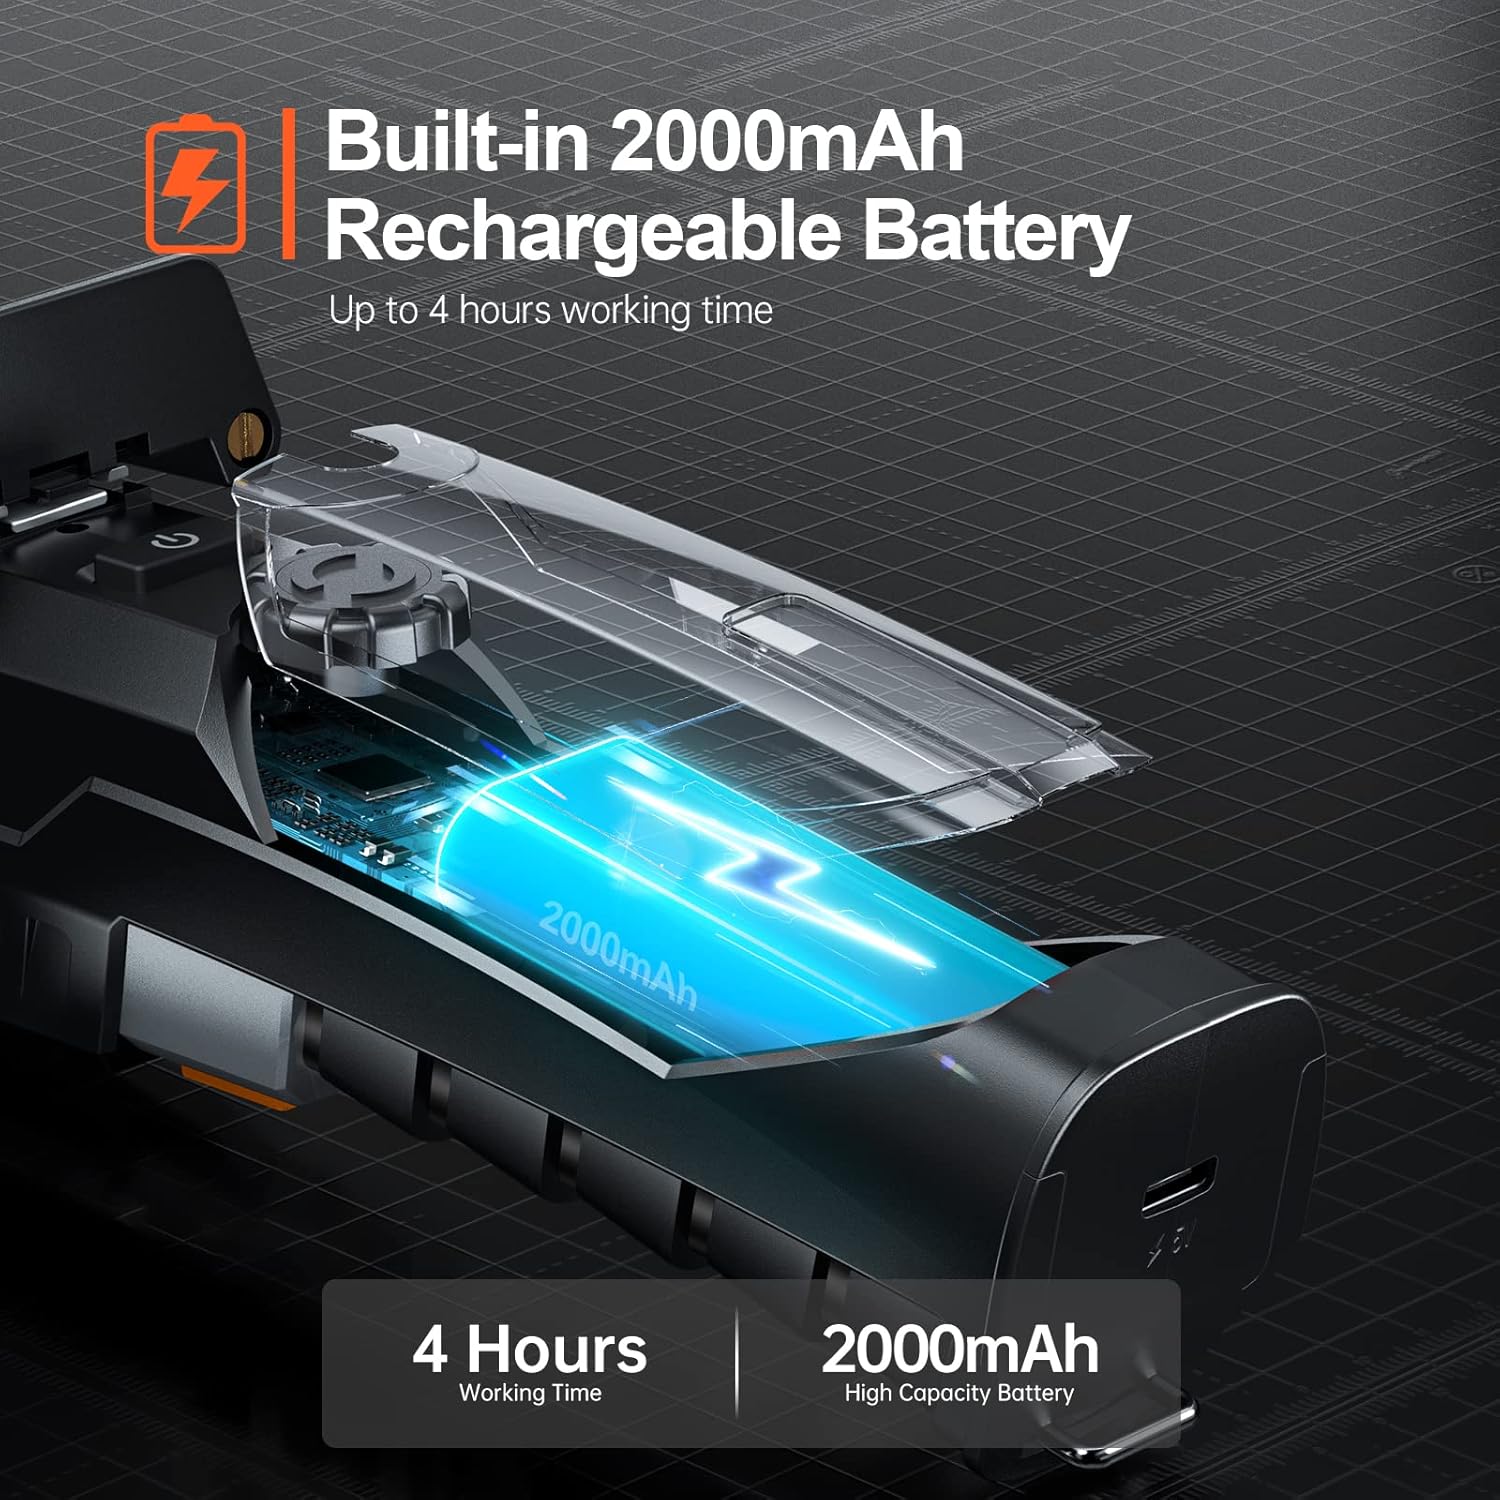
Figure 5.1: The endoscope features a 2000mAh high-capacity battery for extended use.
5.2 Installing the "Smart Endoscope" App
The Teslong Wireless Endoscope requires the "Smart Endoscope" app for operation. It is compatible with Android (7.0+) and iOS (10.0+) devices.
- Scan the QR code provided in the quick start guide or search for "Smart Endoscope" on the App Store (for iOS) or Google Play Store (for Android).
- Pakua na usakinishe programu hiyo kwenye simu yako mahiri au kompyuta kibao.
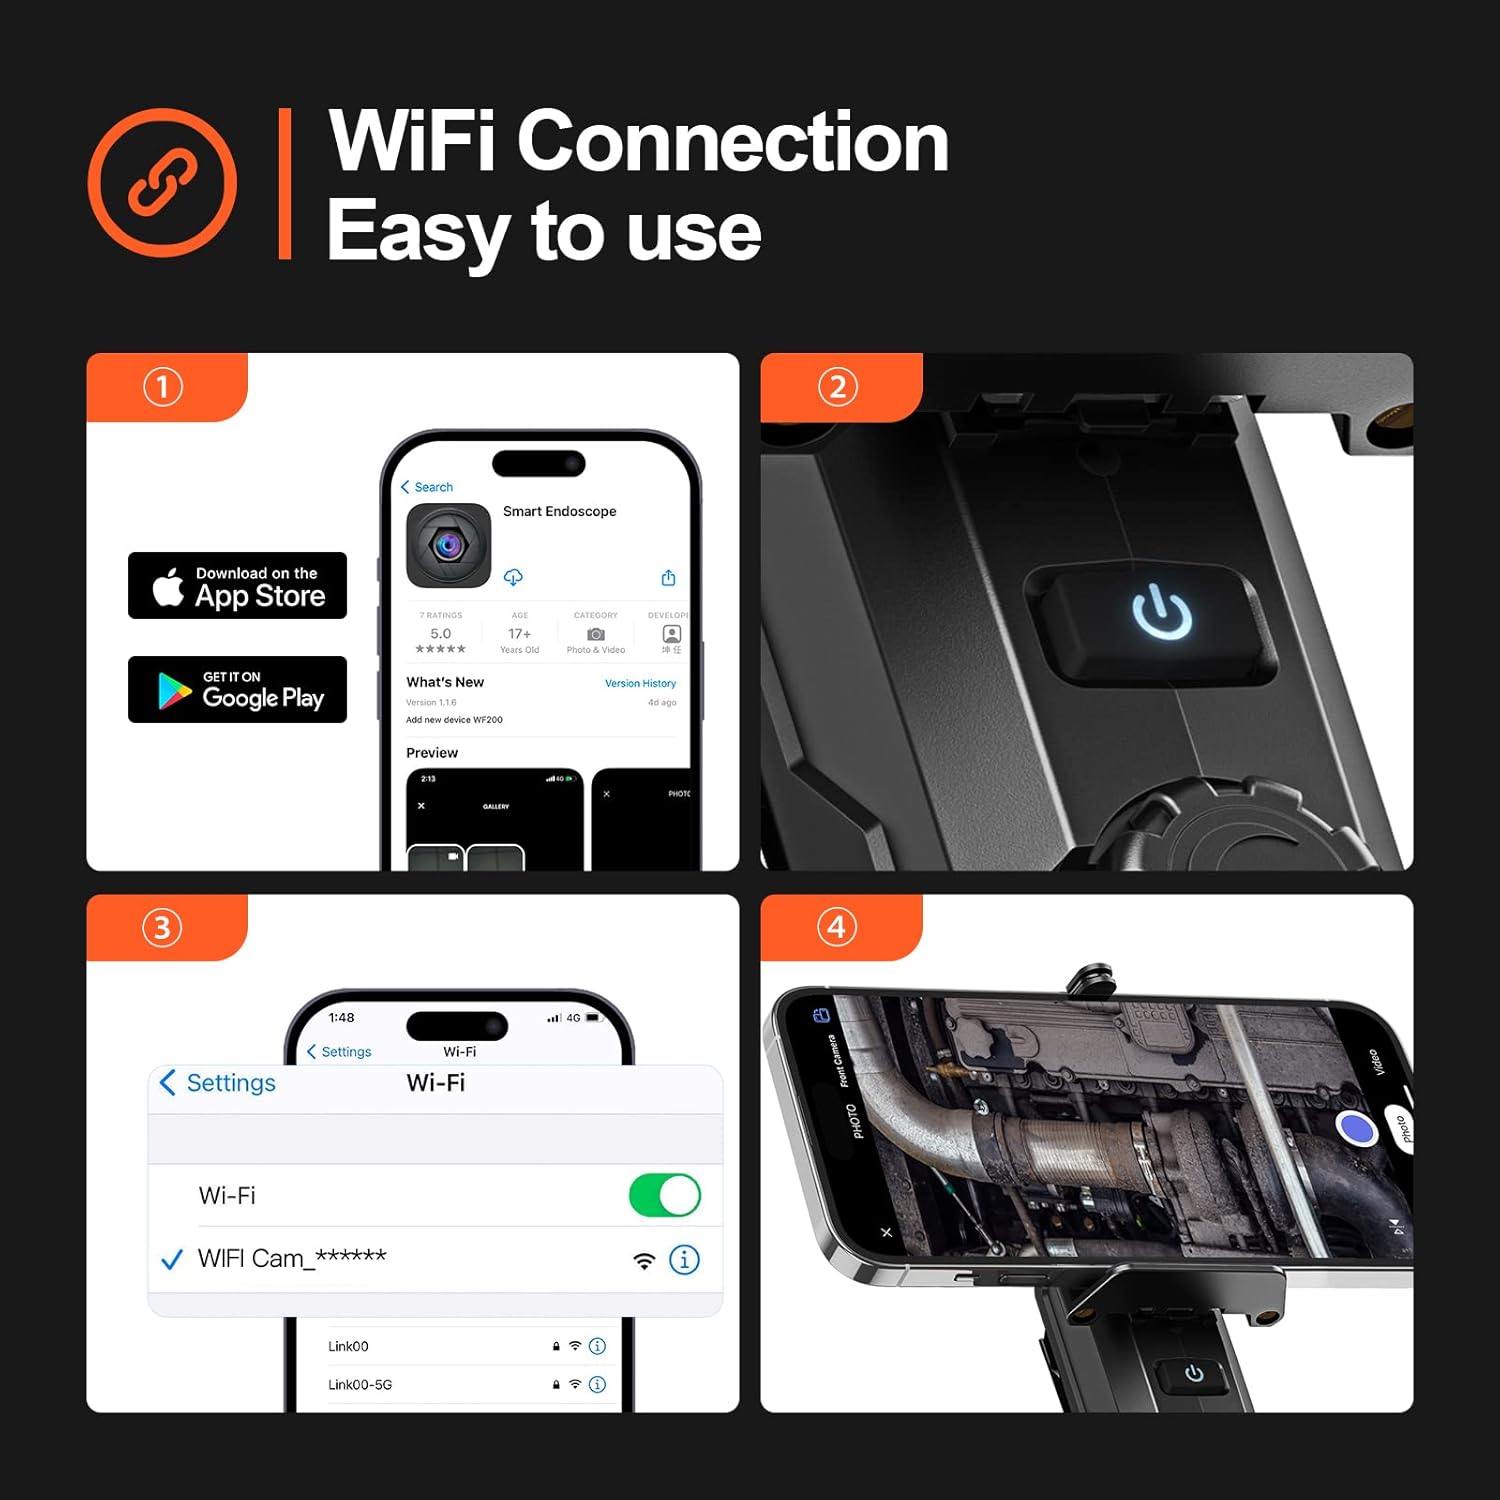
Figure 5.2: Step-by-step guide for app installation and WiFi connection.
5.3 Kuunganisha kupitia Wi-Fi
Once the app is installed, connect your device to the endoscope's Wi-Fi network.
- Power on the Teslong Wireless Endoscope by pressing and holding the power button on the main unit.
- On your smartphone or tablet, go to Wi-Fi settings.
- Locate and select the Wi-Fi network named "WF_Cam_******" (the asterisks will be replaced by a unique device ID).
- Once connected, open the "Smart Endoscope" app. The camera feed should now be visible.
5.4 Attaching the Inspection Cable
The semi-rigid inspection cable is detachable for convenience and versatility.
- Align the connector of the inspection cable with the port on the main unit.
- Gently push and twist the connector clockwise until it clicks securely into place.
- To detach, twist counter-clockwise and pull.
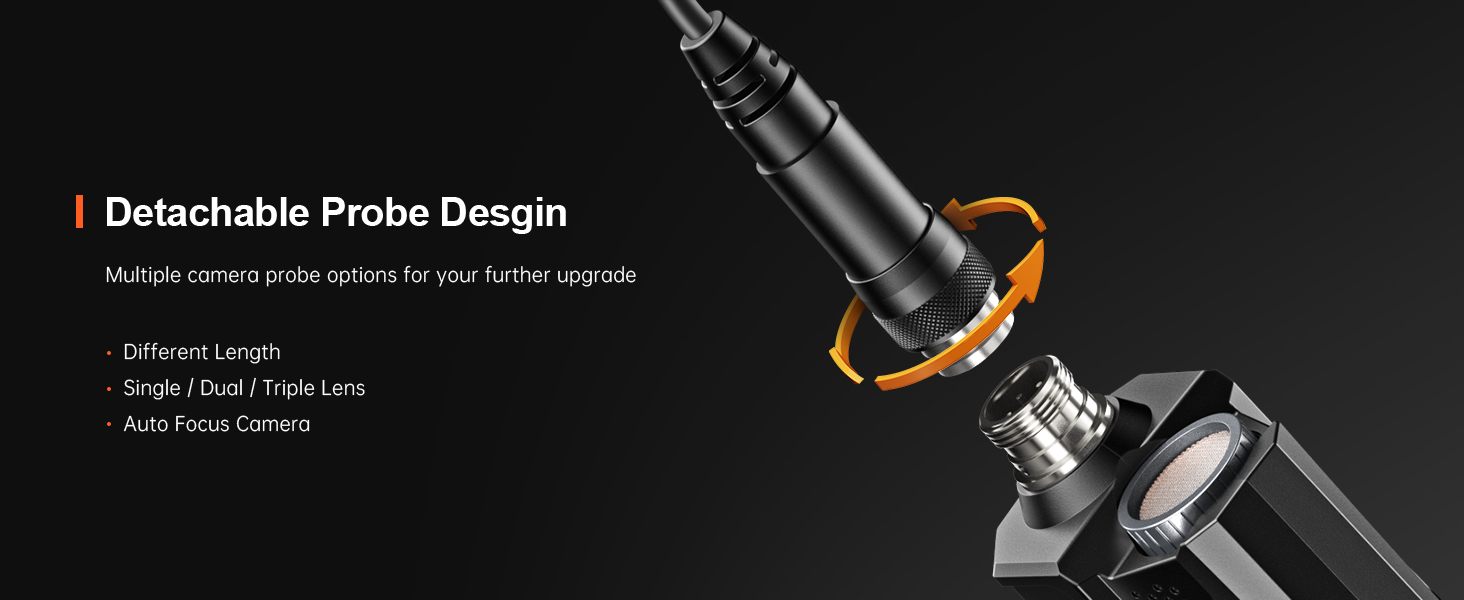
Figure 5.3: The detachable probe design allows for easy storage and future upgrades.
6. Maagizo ya Uendeshaji
6.1 Kuwasha / Kuzima
- Washa: Press and hold the power button on the main unit until the indicator light illuminates.
- Zima umeme: Bonyeza na ushikilie kitufe cha kuwasha tena hadi taa ya kiashiria izime.
6.2 Kurekebisha Taa za LED
The camera probe is equipped with 8 adjustable LED lights to illuminate dark inspection areas.
- Rotate the brightness adjustment dial on the main unit to increase or decrease the intensity of the LED lights. There are three adjustable brightness levels.
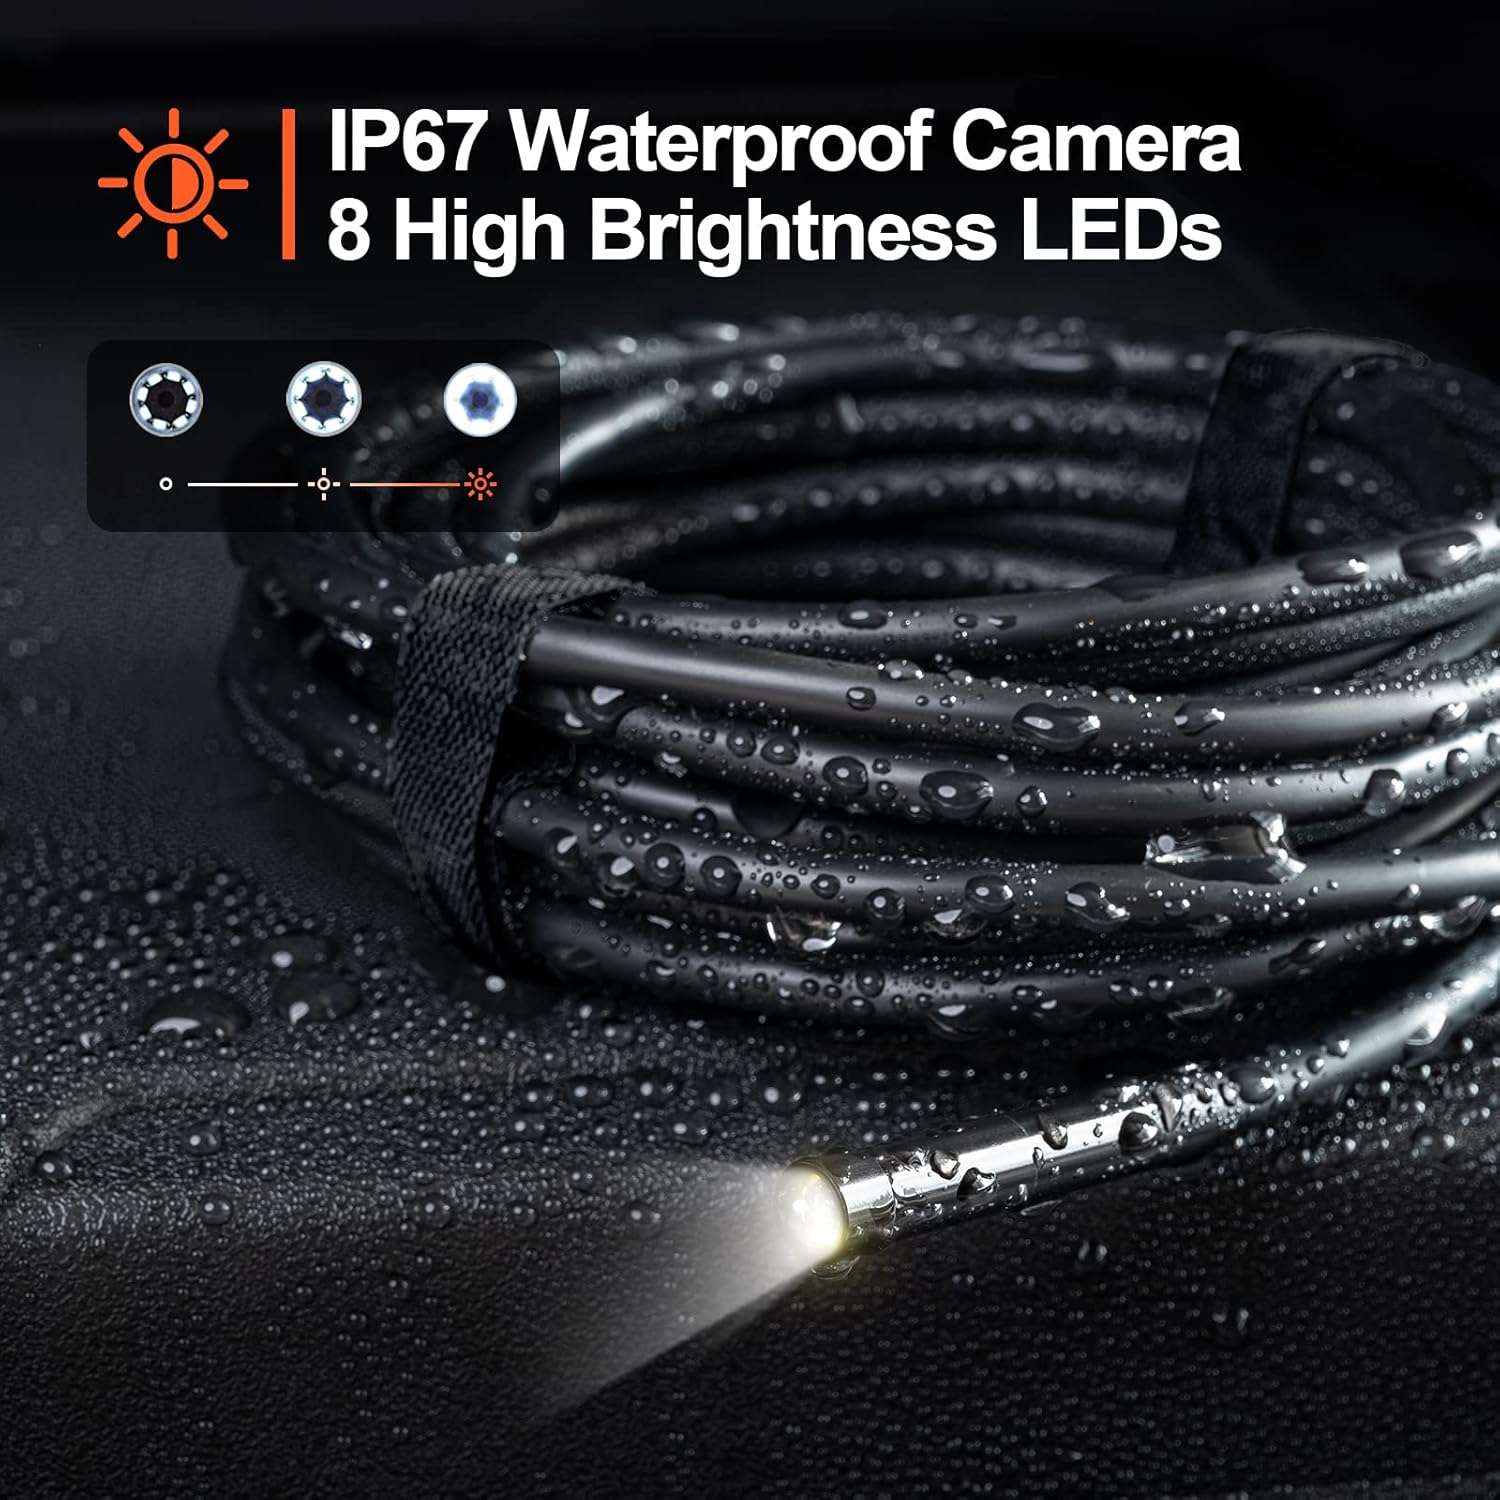
Figure 6.1: The camera probe features 8 high-brightness LEDs and is IP67 waterproof.
6.3 Kurekodi Picha na Video
Use the "Smart Endoscope" app to capture high-resolution images and videos.
- Kuchukua Picha: In the app interface, tap the camera icon to capture a still image. Images are saved in JPEG format.
- Kurekodi Video: Tap the video camera icon to start recording. Tap it again to stop. Videos are saved in MP4 format.
- Captured media will be stored directly on your connected smartphone or tablet.

Kielelezo cha 6.2: View the inspection feed on your iPhone, iPad, or Android smartphone/tablet.
6.4 Using Accessories (Hook, Magnet, Mirror)
The endoscope comes with useful accessories that can be attached to the camera probe for enhanced functionality.
- ndoano: Useful for retrieving small objects from hard-to-reach places.
- Sumaku: Ideal for picking up metallic items like screws or keys.
- Kioo: Provides a side view for inspecting areas that are not directly in front of the camera.
To attach an accessory, carefully slide it onto the tip of the camera probe until it is secure.

Figure 6.3: Included accessories: Hook, Magnet, and Mirror for versatile inspections.
7. Matengenezo
7.1 Kusafisha
- After each use, especially in dirty or wet environments, clean the camera probe and cable with a soft, damp kitambaa.
- For stubborn dirt, a mild detergent can be used, but ensure no liquid enters the main unit.
- Usitumie visafishaji vya abrasive au vimumunyisho.
- Ensure the camera lens is clean for clear images. Use a lens cleaning cloth if necessary.
7.2 Hifadhi
- Store the endoscope in a cool, dry place, away from direct sunlight and extreme temperatures.
- Detach the inspection cable from the main unit for compact storage.
- Keep the device and accessories in their original packaging or a protective case to prevent damage.
8. Utatuzi wa shida
| Tatizo | Sababu inayowezekana | Suluhisho |
|---|---|---|
| Kifaa hakiwashi. | Betri ya chini. | Chaji kifaa kikamilifu kwa kutumia kebo ya USB-C iliyotolewa. |
| No image on the app. | Wi-Fi not connected or incorrect network selected. | Ensure your phone is connected to the "WF_Cam_******" Wi-Fi network. Restart the app and the endoscope. |
| Image is blurry or dark. | Camera lens is dirty; insufficient lighting. | Clean the camera lens. Adjust the LED brightness using the dial on the main unit. |
| Wi-Fi connection is unstable. | Interference from other Wi-Fi networks; too far from the device. | Move closer to the endoscope. Try to minimize other Wi-Fi devices nearby. |
| Programu huanguka au kusimama. | App version outdated; phone operating system issues. | Update the "Smart Endoscope" app to the latest version. Restart your smartphone/tablet. |
9. Vipimo
| Kipengele | Maelezo |
|---|---|
| Mfano | Single Lens (WF200D7L5) |
| Azimio la Kamera | 2.0 Megapixels (1920x1080p) |
| Kipenyo cha Probe | 7mm / inchi 0.28 |
| Urefu wa Cable | 16.5ft (approx. 5 meters) |
| Ukadiriaji wa kuzuia maji | IP67 (camera probe only) |
| Taa za LED | LEDs 8 zinazoweza kubadilishwa |
| Uwezo wa Betri | 2000mAh Lithiamu Polima |
| Muda wa Kufanya Kazi | Hadi saa 4 |
| Kuchaji Bandari | USB Type-C |
| Muunganisho | Wi-Fi |
| Mfumo wa Uendeshaji Sambamba | Android 7.0+ / iOS 10.0+ |
| Umbizo la Picha | JPEG |
| Umbizo la Video | MP4 |
| Vipimo vya Kifurushi | 22 x 21.1 x 4.9 cm |
| Uzito wa Kifurushi | Kilo 0.58 |
10. Udhamini na Msaada
Teslong provides a dhamana ya miezi 12 for this product, covering manufacturing defects from the date of purchase.
Vizuizi vya Udhamini:
- Damage caused by improper use, accident, abuse, neglect, or unauthorized modification.
- Uchakavu wa kawaida.
- Uharibifu unaosababishwa na misiba ya asili au matendo ya Mungu.
Usaidizi kwa Wateja:
If you encounter any issues or have questions regarding your Teslong Wireless Endoscope, please contact our customer support team. Refer to the contact information provided on the Teslong official webtovuti au hati zako za ununuzi.
For more information and product updates, visit the official Teslong store: Teslong Store on Amazon
Ask a question about this manual
Ask about setup, troubleshooting, compatibility, parts, safety, or missing instructions. Manuals+ will review the question and use this page’s manual context to help answer it.