
MWIMBAJI 8763
SINGER Curvy 8763 Computerized Free-Arm Sewing Machine User Manual
Mfano: 8763
Utangulizi
The SINGER 8763 Curvy sewing machine is designed for various sewing tasks, featuring 30 built-in stitches, including two fully automatic one-step buttonholes. It incorporates a SwiftSmart threading system and a Drop & Sew bobbin system for ease of use. Adjustable stitch length and width, along with an extra-high presser foot lifter, support diverse sewing projects. Three StayBright LED lights illuminate the sewing area. This manual provides instructions for setup, operation, and maintenance.

Figure 1: The SINGER Curvy 8763 Computerized Free-Arm Sewing Machine, ready for use with fabric and sewing accessories.
Sanidi
1. Uunganisho wa Nguvu
Connect the power cord to the machine and a 110-volt power outlet. Ensure the foot pedal is also connected to the machine.
2. Bobbin Winding and Insertion (Drop & Sew System)
- Place a bobbin (Class 15J) onto the bobbin winder spindle.
- Follow the threading path for bobbin winding as indicated on the machine.
- Start winding the bobbin. The machine will automatically stop when the bobbin is full.
- Fungua sahani ya kifuniko cha bobbin iliyo kwenye sahani ya sindano.
- Insert the wound bobbin into the bobbin case. The thread should feed from the left side.
- Ongoza thread kupitia chemchemi ya mvutano na kwenye mwongozo wa thread.
- Close the bobbin cover plate. The Drop & Sew system eliminates the need to manually raise the bobbin thread before sewing.

Kielelezo 2: Karibu view of the Drop & Sew bobbin system, showing the clear bobbin cover and the bobbin in place.
3. Upper Threading (SwiftSmart System)
- Kuinua lifter mguu mguu.
- Weka spool ya thread kwenye pini ya spool.
- Follow the numbered threading path indicated on the machine, ensuring the thread passes through all guides.
- Use the automatic needle threader: Lower the needle threader lever, hook the thread, and release. The needle will be threaded automatically.

Kielelezo 3: Kina view of the needle area, presser foot, and automatic needle threader mechanism.
Maagizo ya Uendeshaji
1. Uteuzi wa Mishono
The SINGER Curvy 8763 offers 30 built-in stitches. To select a stitch, press the corresponding button on the stitch selection panel. The machine automatically sets the optimal stitch length and width for the chosen stitch.

Figure 4: Close-up of the stitch selection panel, showing various stitch patterns and selection buttons.
2. Kurekebisha Urefu na Upana wa Kushona
While the machine provides automatic settings, you can manually adjust the stitch length and width using the control levers on the stitch selection panel. Move the upper lever for stitch length and the lower lever for stitch width.

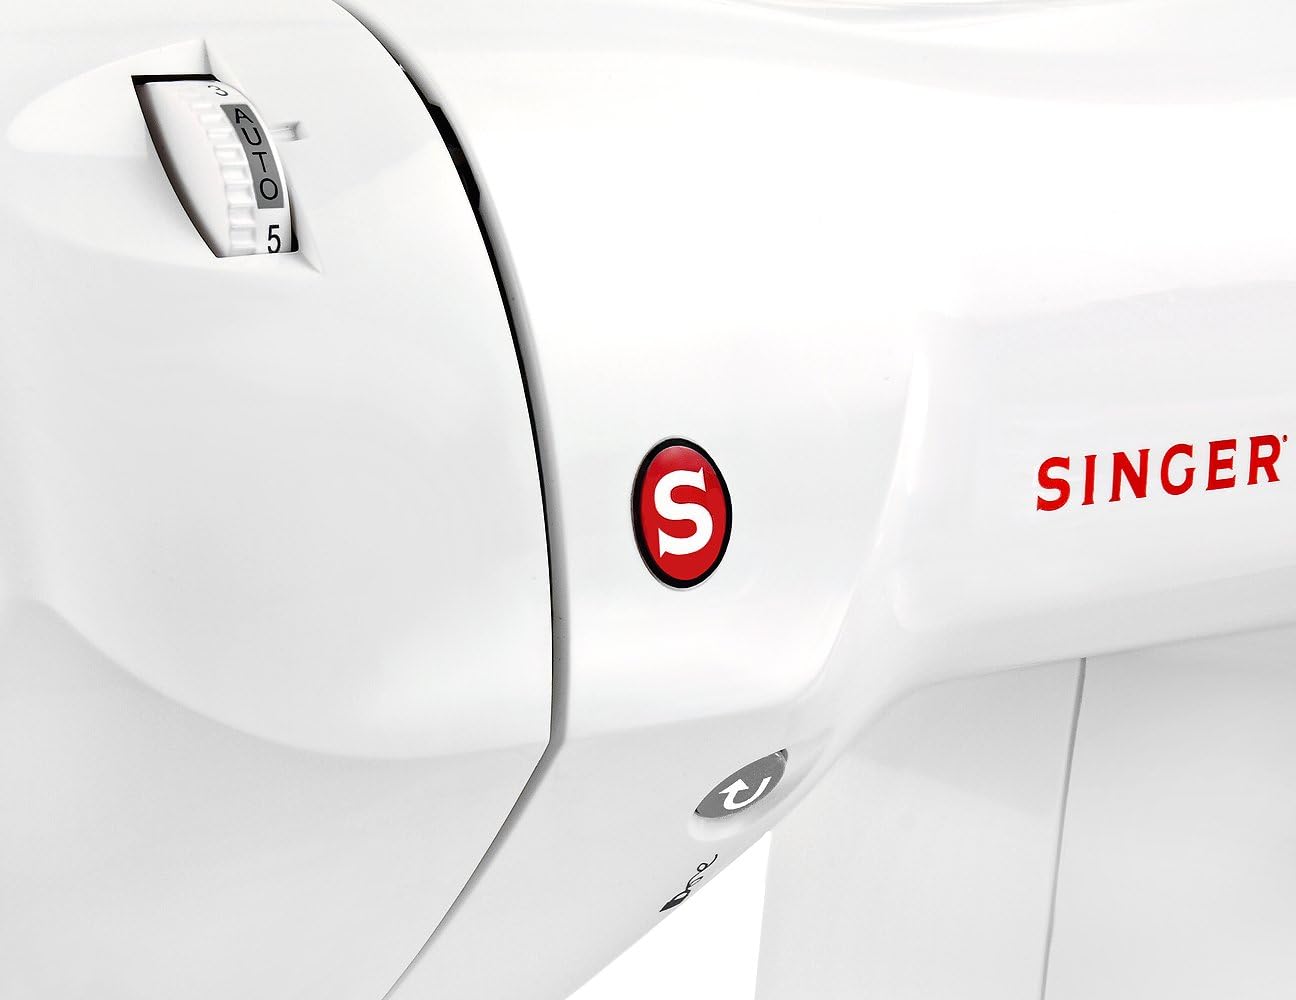
Figure 5: Close-up of the stitch length and width adjustment sliders, allowing fine-tuning of stitch parameters.
Video 1: Demonstrates how to select stitches and adjust stitch length and width on the SINGER Curvy 8763 sewing machine.
3. Marekebisho ya Mvutano
The machine typically operates with automatic tension. If adjustments are needed for specific fabrics or threads, use the tension dial located on the front of the machine. Refer to the stitch guide for recommended tension settings.

Figure 6: Close-up of the tension dial, used for fine-tuning thread tension.
4. Kutumia Mkono Huru
To use the free arm for sewing cuffs, sleeves, or other small, circular items, slide off the accessory storage compartment. This exposes the free arm, allowing fabric to be easily maneuvered around it.

Figure 7: The SINGER Curvy 8763 with the accessory compartment removed, revealing the free arm for circular sewing.
Matengenezo
1. Cleaning the Feed Dogs and Bobbin Area
Regularly clean lint and dust from the feed dogs and bobbin area to ensure smooth operation. Use the provided lint brush or a small vacuum attachment. Turn off and unplug the machine before cleaning.
Kielelezo 8: Karibu view of the feed dogs and needle plate, highlighting areas that require regular cleaning.
2. Uingizwaji wa Sindano
Replace the needle regularly, especially when sewing different fabric types or if the needle becomes dull or bent. Always use SINGER-approved needles appropriate for your fabric.
3. Hifadhi
When not in use, cover the machine with the soft-sided dust cover to protect it from dust and debris.
Kutatua matatizo
- Mishono Iliyoruka: Ensure the needle is inserted correctly, is not bent, and is the correct type for the fabric. Check that the bobbin thread is properly loaded and tensioned.
- Kuvunjika kwa nyuzi: Verify that the machine is threaded correctly, the tension is appropriate, and the needle is not dull or damaged. Use quality thread.
- Mashine Haijaanza: Check that the power cord and foot pedal are securely connected. Ensure the power switch is on.
- Mishono isiyo sawa: Adjust thread tension. Ensure the fabric is fed evenly and not pulled or pushed excessively.
Vipimo
| Kipengele | Maelezo |
|---|---|
| Chapa | SINGER |
| Nambari ya Mfano | 8763 |
| Hesabu ya kushona | Mishono 30 Iliyojengwa Ndani |
| Vifungo | 2 Fully Automatic One-Step Buttonholes |
| Threading System | SwiftSmart Automatic Needle Threader |
| Mfumo wa Bobbin | Drop & Sew |
| Taa | 3 StayBright LED Lights |
| Nyenzo ya Fremu | Chuma |
| Uzito wa Kipengee | Pauni 17 |
| Chanzo cha Nguvu | Corded Electric (110 volts for US and Canada) |
Udhamini na Msaada
The SINGER Curvy 8763 Computerized Free-Arm Sewing Machine comes with a limited 25-year warranty. This includes a 5-year warranty on electronic components and a 1-year warranty on labor. This warranty is valid for use in the US and Canada at 110 volts only.
For further assistance, refer to the included Instruction Manual or contact SINGER customer support.
Ask a question about this manual
Ask about setup, troubleshooting, compatibility, parts, safety, or missing instructions. Manuals+ will review the question and use this page’s manual context to help answer it.